RepairBench walkthrough: diagnose the six fan and lamp cases
Use symptoms, voltage and continuity to choose a repair, then verify the assembled device across the six available jobs.
RepairBench rules and controls · Play RepairBench
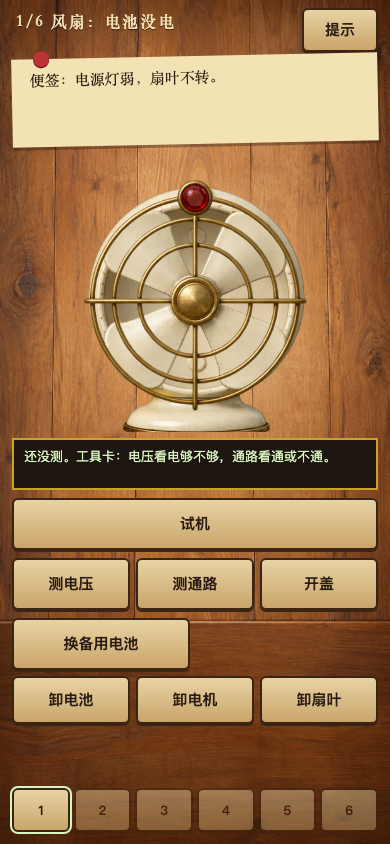
Start with the symptom, not the spare part
RepairBench contains six short jobs: three fan faults and three lamp faults. Read the note on the current job before opening the device. The useful question is what the symptom rules out. A weak power light and a normal light with a stationary fan do not point to the same repair.
Use the available voltage and continuity tools to separate a power problem from an interrupted connection. In this game, a healthy battery reads about 3.0 V and the depleted battery reads about 0.3 V. These are clues in the simulation, not instructions for repairing real electrical equipment.
Fan cases: battery, lead and blocked blade
In the first fan case, the weak light and low reading support replacing the depleted battery. Opening the cover or changing a different module does not restore the missing power. After installing the spare, put the device back into a testable state and use its test control.
In the second case, the power light is normal but the lead is loose. Replacing the motor does not automatically reseat its connection. Move the lead to the indicated terminal and inspect the placement feedback. In the third case, normal power and continuity coexist with a blade blocked by paper; remove the obstruction instead of repeating the battery repair.
Lamp cases: power, connection and dirty contacts
The fourth job repeats the depleted-battery diagnosis on a lamp. The fifth has normal voltage but a disconnected lead. The device has changed, but the distinction between adequate power and a complete path still matters. Check the current note rather than assuming that every unlit lamp needs a battery.
The sixth lamp has a charged battery and a connected wire, but dirty contacts interrupt the result. Wipe across the contact area until all of its patches have been cleaned. A single stroke through the centre can leave untouched patches; use the visible cleaning state before moving to the final test.
Why a changed part can still fail the test
A part being present is different from a working assembled device. Recheck any remaining-fault message, the cover state and the connection. A successful tool action establishes only that action: a fitted battery does not prove continuity, and a continuity reading does not remove a mechanical obstruction.
For a useful retry, make one change justified by the last reading and test again. Keep the reading, repair and observed result together. This avoids replacing several parts at once and losing track of which action mattered.
A short diagnosis routine for the next job
Read the note, inspect power, inspect the connection when needed, look for the case-specific obstruction or dirty contact, then test the assembled device. The available release ends after these six fan and lamp jobs; this walkthrough does not imply an additional repair campaign.
Continue playing
A limited repair workbench with six fan and lamp jobs. The visible job is the authority for which parts and tools are available.
Try the next attempt in RepairBench. For a different game, browse the guide library. Report a rule that no longer matches the game through player support.